|
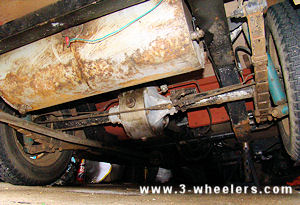
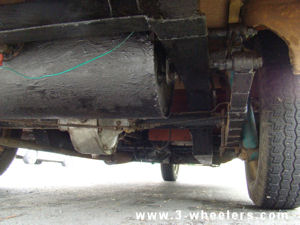
A week after buying Lucie, I decided to jack her up and have a good look underneath. The first thing that struck me was the size of the chassis, compared with the Regal 3/30 chassis, this one looks so large and the metal much thicker. Interestingly, at the back of the van the body does not sit on the chassis, instead outriggers, come up from the chassis and support a wooden frame to which the body and the van floor is attached. The beauty of this is that if I wanted to, I could unscrew the floor panels and access the axle, petrol tank and chassis from above.
The wooden frame also goes up into the body and across the back doors and along the sides of the an supporting the sides of the vehicle. Inspecting the wooden frame, underneath the car it looks as though the whole thing has been replaced and painted, whilst in the van there are parts with the original wooden frame and others with new sections of wood. Someone in the past has spent a lot of time on this van.
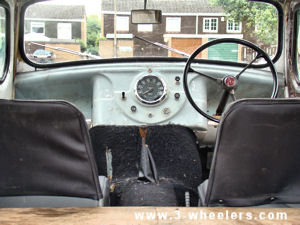
I’ve also noticed that the dashboard is a complete separate piece that is screwed onto the wooden frame, below the dashboard is a large cowling around the engine, with this removed you can access most of the engine and gearbox from within the vehicle. Compare this with all the limitations of access to the engine and gearbox in all Reliant 3-wheelers that followed this model.
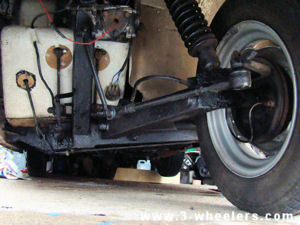
Whilst the chassis almost looks brand new, I noticed in a few areas that the paint had come away and a fine layer of surface rust had formed. I then toyed with the idea of either paint or under seal, paint would have looked very nice though probably would easily chip and flake away again so I decided to use under seal, as I did on Ole Blue. Having said this, that was thinned out and sprayed on it several coats so it had a nice flat finish, this I applied by hand with a paint brush and it was like painting on treacle. The chassis though is now well protected and I also painted the petrol tank with it though aesthetically the petrol tank is not too appealing to the eye as it was impossible to get a nice smooth finish. That said, the tank isn’t going to rust whilst it is covered with the stuff - not from the outside anyway!
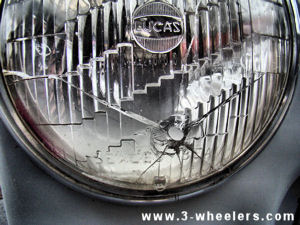
I mentioned that I was going to replace the headlights for the original type with a built in side light, this was reinforced after I went for a small drive and then came back to find a small hole in the driver’s side head light. It takes about 25 seconds for Lucie to get to 50 mph though when she gets there she is more than happy, it is ironic therefore that having done a few miles in her, and most at low speeds, I am then able to catch a stone hard enough to break the headlight - which was a sealed beam so no longer works.
I think I have a spare one for the interim though I shall order new lights and front indicators then ask my brother nicely to change the wiring loom for me. (The existing loom is new and the side lights have been taken down to the indicators rather than the main headlights.)
I’ve also been wondering whether than van had a Reliant badge on the back and after investigation, I found two small and very neat holes above the doors that are the exact spacing for a “Reliant” lettering chrome badge. They are the same as those fitted on later Regals so thankfully I have a few spares.
Elvis Payne
August 2008.
Go to September 2008
|