|
Over to Geoff who by no must have a great suntan with all this sunshine.
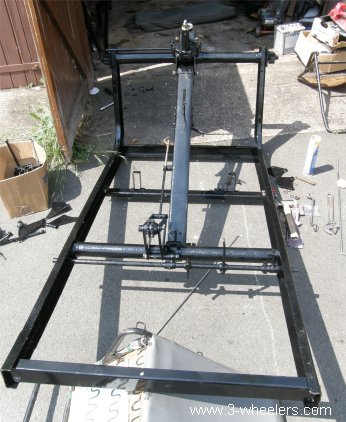
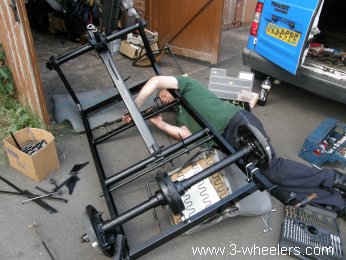
Its come that time when finally when 35 is going back together. It’s a great feeling knowing that the bolts that I am putting in don’t need to come out. I transported all the parts of the chassis to Pete’s garage as that’s the only place we have to build him and then made a start of trying to make sense of the bits.
It’s strange that some of the parts that we are fitting we just can’t remember how they went thank goodness for all the pictures that I took when we took him apart.
So I uploaded over 1000 of the pictures to my lap top of every part of 35 and how it went before we took it apart, what did we do before digital cameras. Now when we are unsure of how a bit goes its just a case of finding its before look on the lap top.
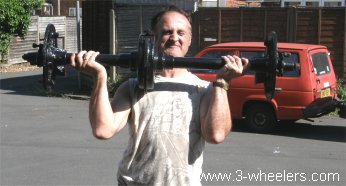
It was good fun when fitting the axle, we lifted it under the chassis and located the bolt holes then I stood back and looked at the car, “That don’t look right” I said to Pete and as we both looked the diff was on the wrong side of the axle casing. But how I thought and spent fifteen minutes looking at it then Pete said, “When we took it off we had turned it upside down”. D’oh the axle sits on the top not the bottom so after removing it and putting it on correctly all was well.
Had a good find with the rear U bolts on the good old E-bay though felt a little bit of a twit as I was measuring them wrong. I took the length from the bottom of the U bolt up making it 150mm M10 (well 3/8 BSF) and all I could find was 140mm long then when taking to Pete and about that fact that I could only find 140mm long we looked at a picture of how they were measuring them and they went from the bottom of the inside of the U not the out side making mine 140mm. After ordering them online they came the next day and fitted perfect. The only thing that I will change is the base plates as I don’t like the way that they sit, so will make new ones that support the bolts better.
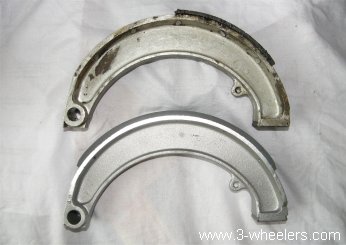
I now have a complete set of new brakes, well relined anyway. Industrial Brakes www.industrialbrakes.co.uk took my old shoes and then treated them and relined them for me so that they are as good as new. One of the shoes had the liner riveted to it but the liner as been glued on now as they will last longer as you can wear below where the rivets would go.
Once all the chassis work is complete then its just a case of taking measurements and making up the bits that are missing still like the hand brake and the oil tank. The brake rods have been made by my friend at George Engineering and he is at present repairing one of the front fork bolts as when the nut was removed the thread came off with it. This being a specialist bolt it is going to be easier and quicker to just simple clean the ends and tap it to M12. This should not cause a problem on the forks as the spacer plate if it comes to it can be sleeved to allow for the smaller size.
Well back to bolting bit together again now
Until next month thanks for reading
Geoff
June 2010
Go to July 2010
|